Patio Awning Arm Adjustment

How To Adjust Awning Arms Youtube
Retractable Awning Folding Arm Youtube

Adjusting The Pitch On Your Solair Awning Youtube

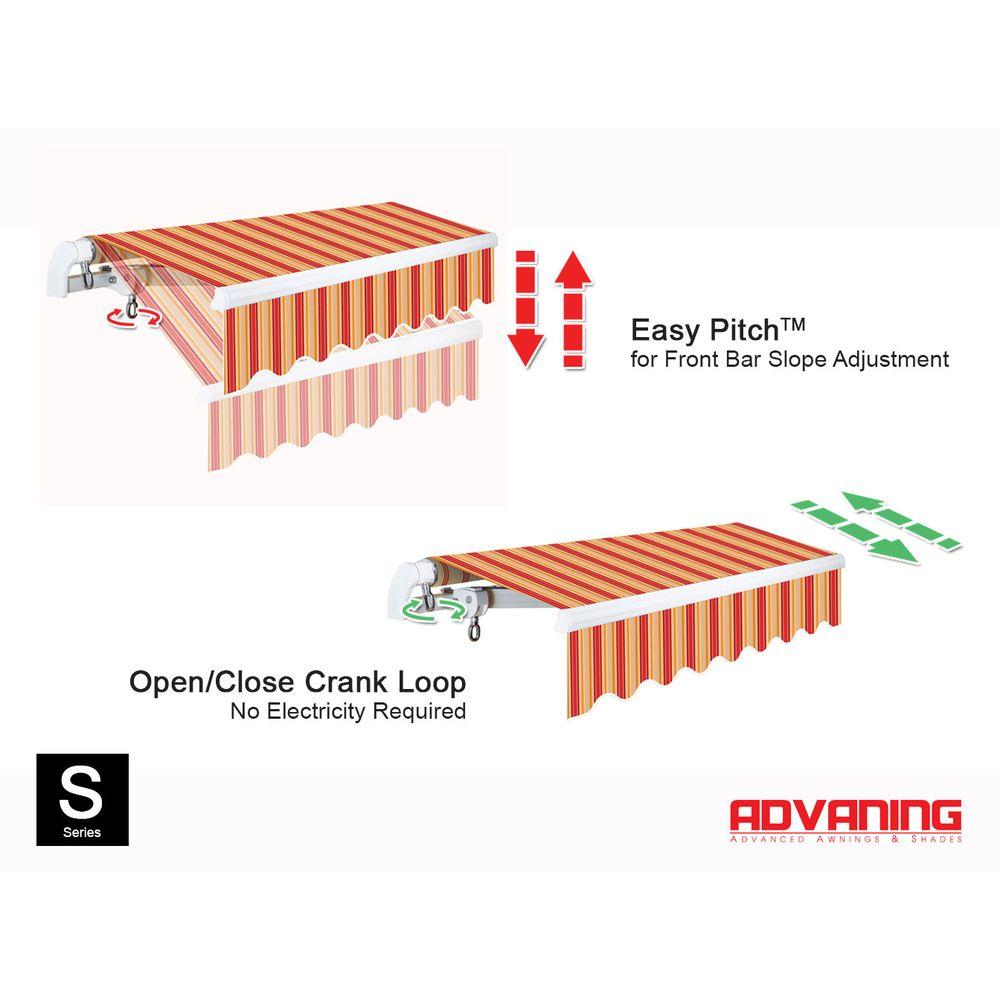
Advaning Awning Adjust The Pitch Using Easy Pitch Youtube

Installation Video S Content
Https Www Advaning Com Kcfinder Upload Files Manual Literature Adjusting Theawningopenclosedistances Pdf
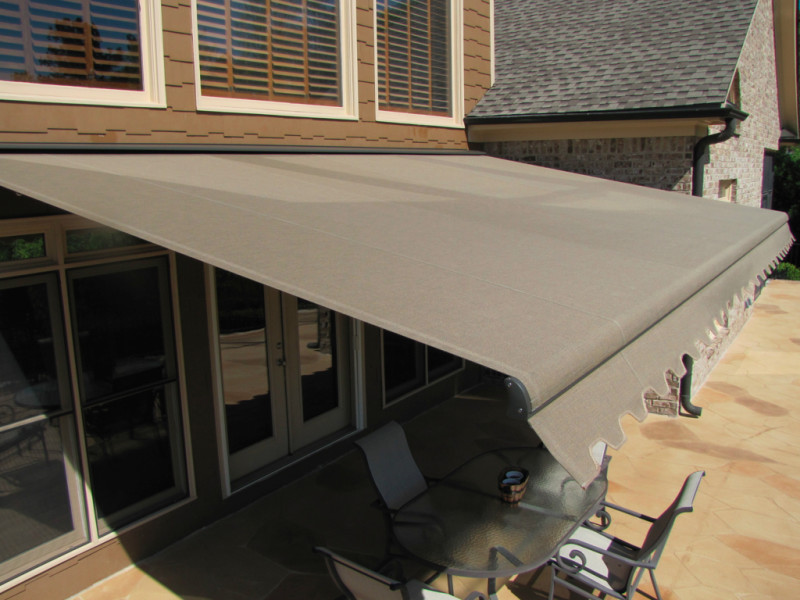
The best location for the install brackets is no less than 8 and no more than 16 to both sides of the arm shoulder.
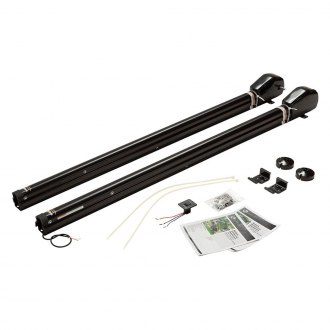
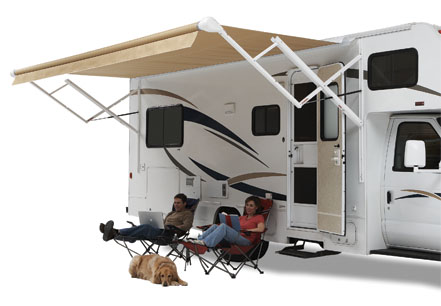
Patio awning arm adjustment. Wall mounting installing on clapboard. Here are a few steps to consider when adjusting your retractable awning. This was my first time replacing one so it s kind of a lea. 12v power patio awning arm kit by solera awnings.
Using an awning stake. If you have to adjust the awning make sure that you are adjusting it the right amount the first time. The fabric should now be taught. Sometimes you make an adjustment too far and you have to re adjust it back.
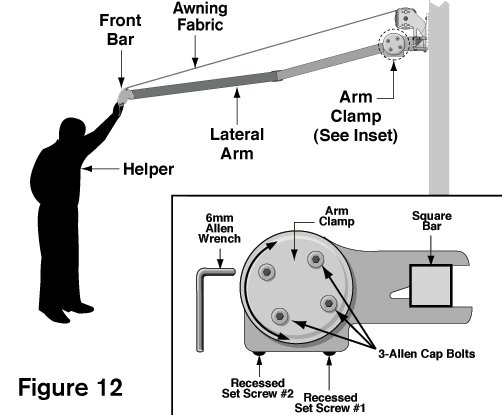
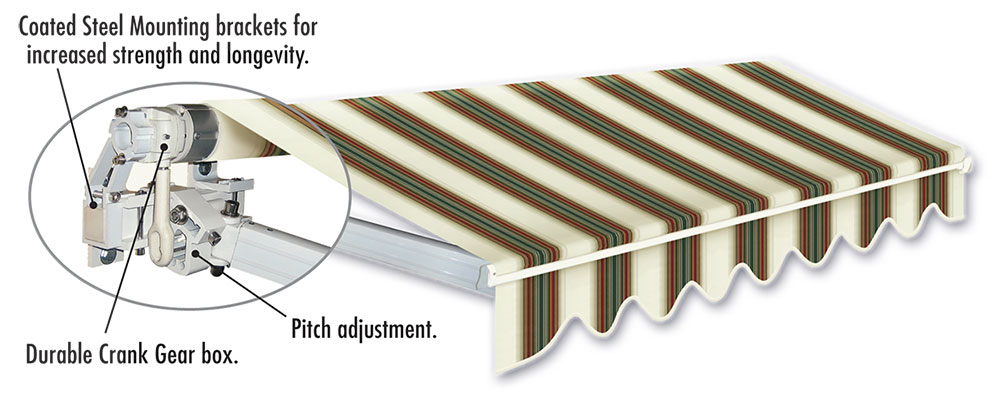
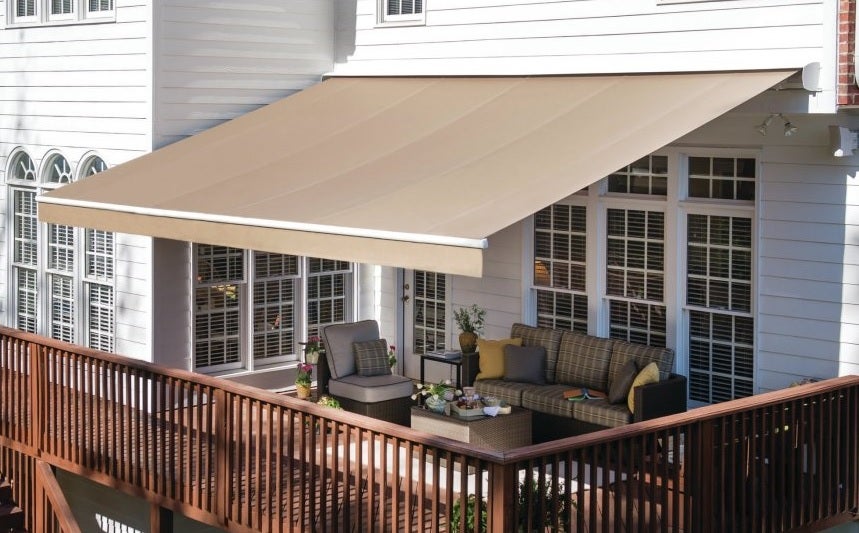
Featuring a premium heavy duty canopy and a one handed adjustable pitch projection the solera 12v power awning allows for simple effortless setup. With your free hand tighten the knob on the upper tensioning arm. Once the awning is in the brackets you will be able to make some side to side adjustments if needed. Ask your helper to release the front bar check if the desired height has been reached and tighten the screws.
Adjust the height of the sunsetter awning. While standing in front of the awning pull the awning tube downward and toward yourself. Identify the correct adjustment you don t want to make more work for yourself. Fully unroll the awning and then slide the upper arm into position.
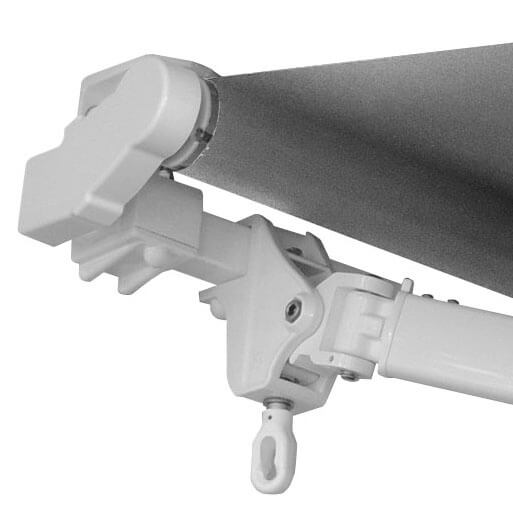
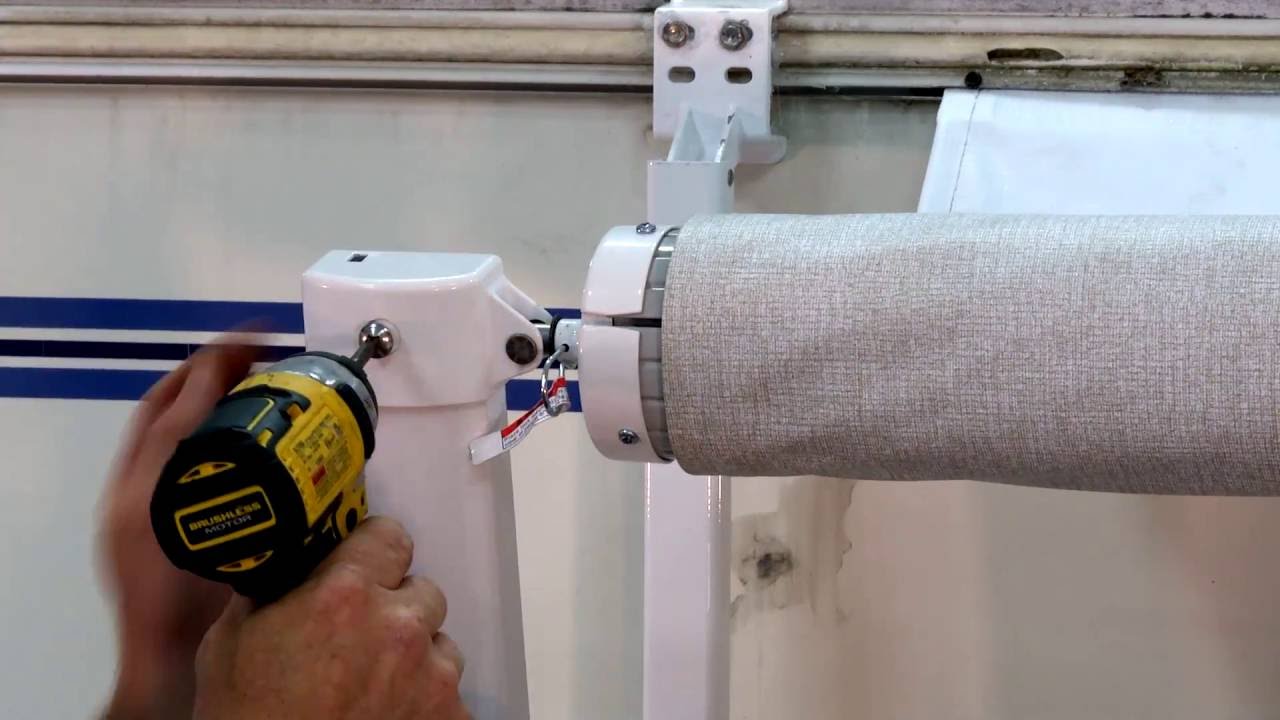
Instructional video on how to replace the drive side awning arm on your carefree longitude awning. Repeat this step with the other tensioning arm. Enjoy the videos and music you love upload original content and share it all with friends family and the world on youtube. Then rotate the set of allen screws you have just exposed in step 3.

Patio Awning Owner Manual Carefree Of Colorado

Rv Awning Canvas And Arm Alignment How To Adjust And Fix Rv 5 Minute Tech Tips Tricks Youtube

Awning Installation Instructions Taylormadeawning Com
We Purchased A Sunsetter Motorized Awning In 2010 And Had It Installed By A Contractor But Since Last Year It Is Sagging On One Side Homeownershub
Retractable Awnings Affordable Tent And Awnings Pittsburgh Pa
Patio Awnings Valor Specialty Products

Advaning Technical Guides
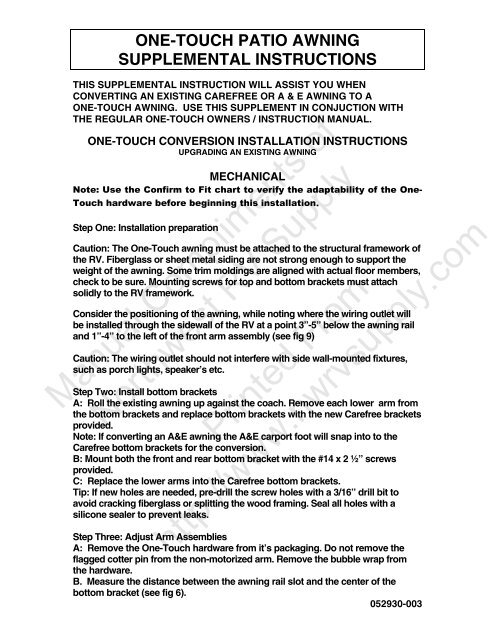
One Touch Conversion Patio Awning Supplemental Installation
Travel R Carefree Of Colorado

Durasol Retractable Patio Awning Innovative Openings

Retractable Awning By Elite
What You Need To Know Before You Purchase A Retractable Awning Giel Garage Doors
Commercial Awnings Retractable Lateral Arm Patio Amp Deck Awnings Palermo By Retractable Awnings

Aluminum Awning Balcony Design Sunshade 1 Aluminum Folding Arms 2 Manual Or Motorized Operation 3 Max Size W6 L4m Canopy Outdoor Patio Awning Patio Canopy

Awning Auto Dump Forest River Forums
Retractable Awnings

Dometic A E 3311578 001 Rv Awning Rafter Arm Adjustment Knob

China Full Cassette Patio Awnings Manufacturers Suppliers Factory Wholesale Price Full Cassette Patio Awnings Greenawn
Https Encrypted Tbn0 Gstatic Com Images Q Tbn 3aand9gcqdv Kssuyzln2nectvqfdfwwsz5h1kxnkd9nn3nitpnsm00wil Usqp Cau
Ae Patio Awning Lift Handle 13 85
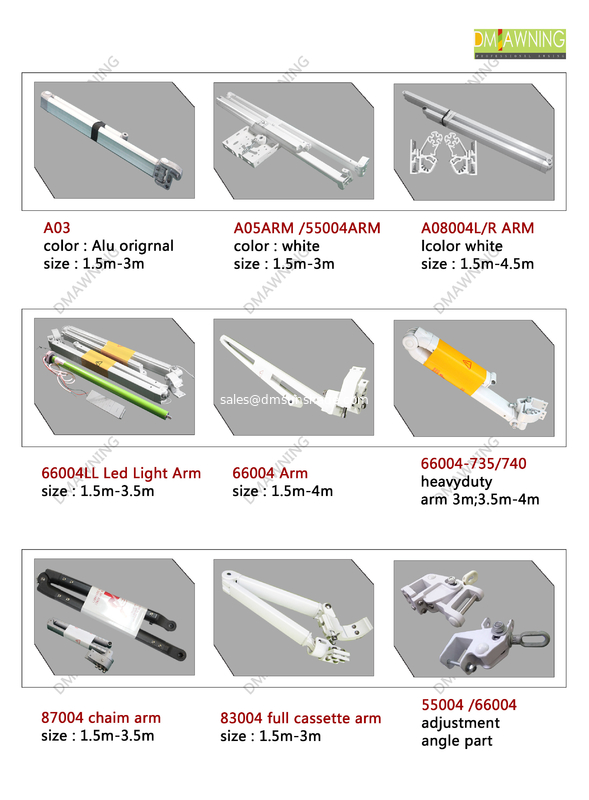
Awning Arms Retractable Arms For Awnings Awning Conponents Awning Manual Gear Box Awning Crank Zipper Tract

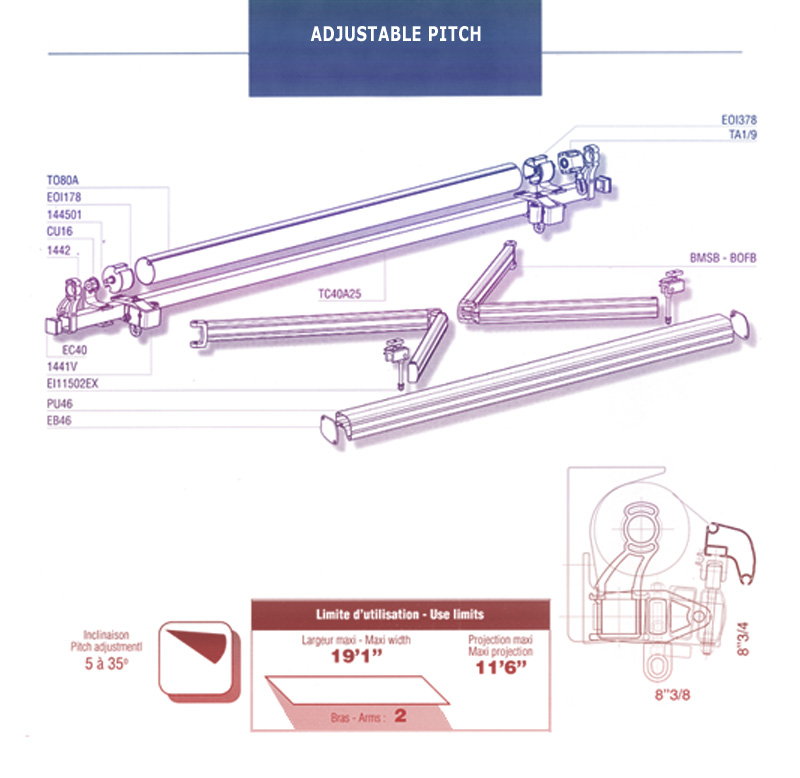
Retractable Awnings Now Come With Pitch Adjustment Feature Which Allow You To Raise Or Lower The Front Bar To Meet You Awning Shade Awning Retractable Awning
Advaning 12 Ft Slim S Series Manual Retractable Patio Awning 118 In Projection In Linen Beige Ma1210 A002n The Home Depot
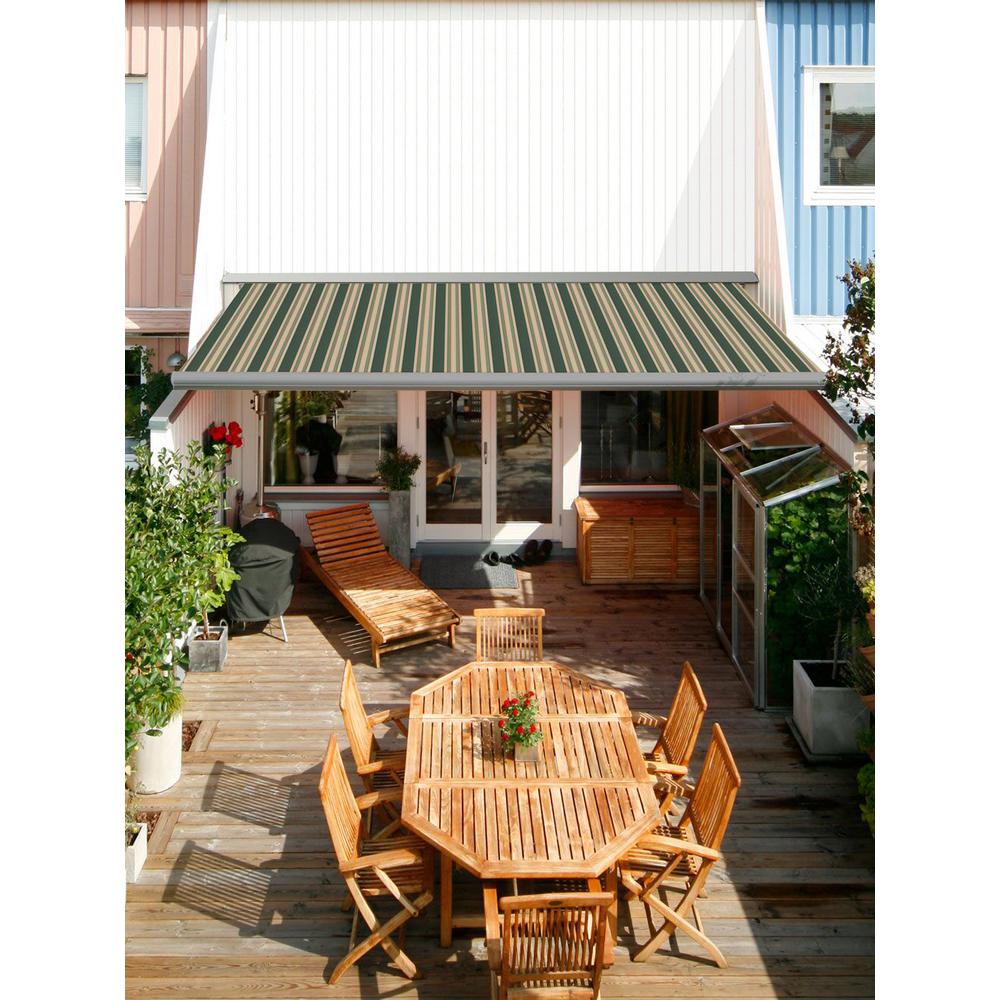
Advaning 13 Ft Classic C Series Semi Cassette Manual Retractable Patio Awning 118 In Projection In Green Beige Stripes Ma1310 A230h The Home Depot

About Retractable Awnings Awning Resources

Amazon Com Diensweek Patio Awning Retractable Manual Commercial Grade Fully Assembled Quality 100 280g Ployester Window Door Sunshade Deck Canopy Balcony P100 Series 10 X8 Navy Blue Garden Outdoor

Carefree Rv R001840 Awning Arm Slider Longitude Replacement Roller For Pitch Adjust Arm Assembly For Carefree Longitude Awning Rveparts Com

Amazon Com Carefree Vxje50hw Black 12v Eclipse Arm Set Hardware Awning Automotive
Solera Awning Replacing A Manual Awning Spring Assembly Youtube

Retractable Lateral Arm Awnings
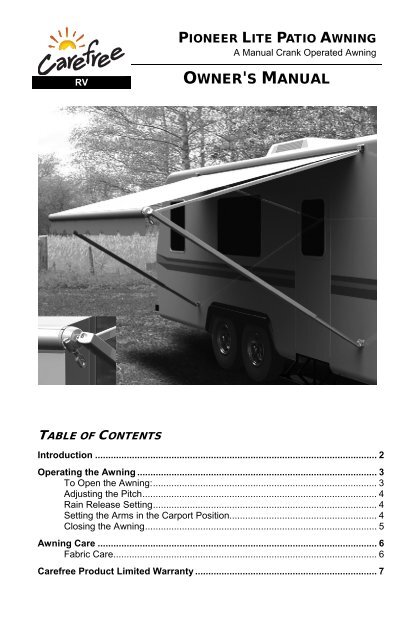
Pioneer Lite Owner S Manual Carefree Of Colorado

China Retractable Awning Arm Parts Manufacturers Suppliers Factory Wholesale Price Retractable Awning Arm Parts Greenawn
Https Www Carefreeofcolorado Com Documents Adjustable Travelr With Dr Owners Manual Pdf

Add Warmth And Coverage With Our Beautiful Canvas Stationary Awnings Choose From Over 100 Different Fabric Colors To Backyard Retreat Backyard Outdoor Decor

B25 Folding Arm Awning With Valance Brustor
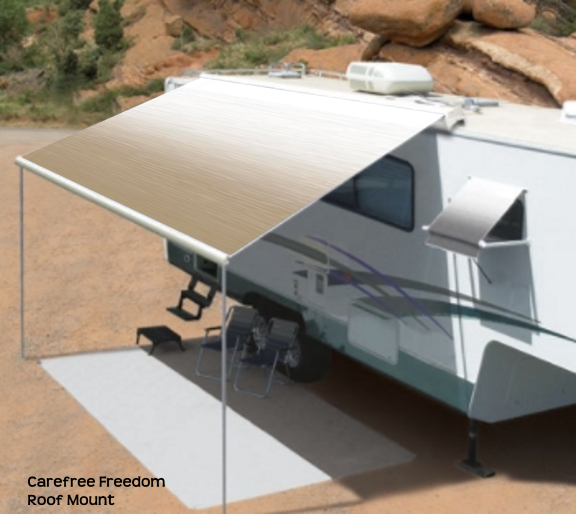
Carefree Freedom Vinyl Patio Awning Easy To Use And Adjust
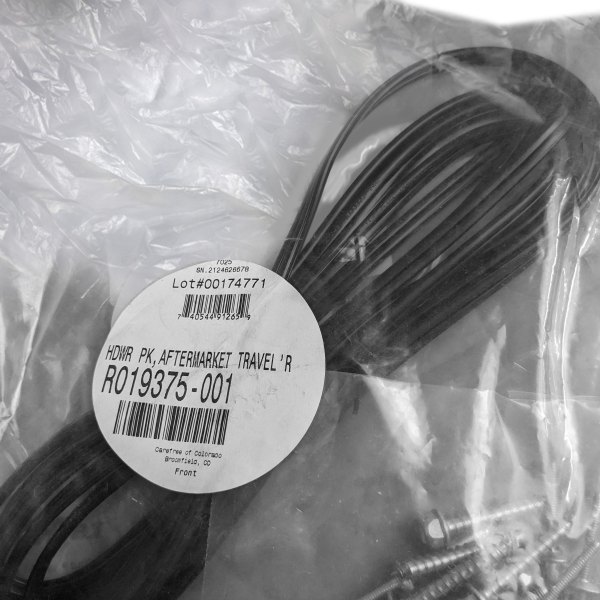
Carefree R019375 001 Travel R Patio Awning Arm Hardware Pack Camperid Com

Retractable Awning Videos Advaning Shop The Best Retractable Awning For Window Patio Metal Door Porch Dometic Garden To Provide You At An Affordable Price Super Easy Installation Video And User S
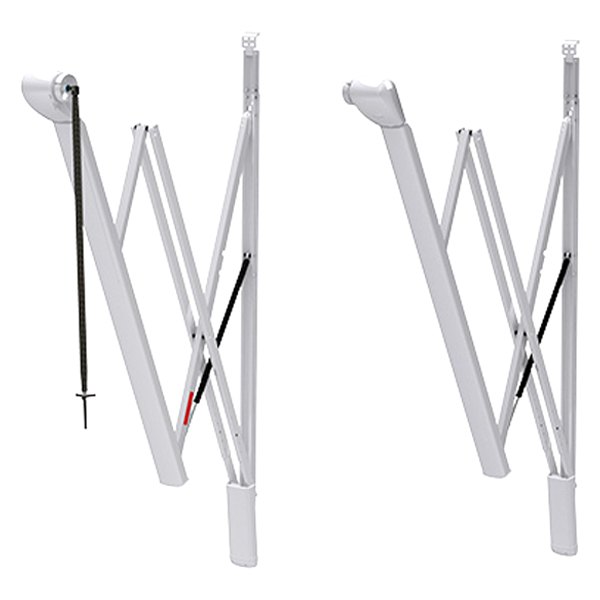
Carefree Eclipse Patio Awning Arm Camperid Com

Folding Arm Awnings Ibiza Outdoor Patio Outdoor Blinds Awning

Carefree Of Colorado 901015w White Awning Height Adjust Handle

R00415 317 55 Carefree Rv Awning Arm For Patio Awnings